
5 Quick, Easy Ways to Level Up Your Art
Do you ever feel frustrated that you aren’t becoming a better artist quick enough? I think this is pretty common at any stage of an art journey.
The good news for your is that when I look back on my 10 year art journey, I see turning points - pivotal things I started doing that instantly made my art better. And they didn’t require any additional skill. They were just habits I picked up along the way.

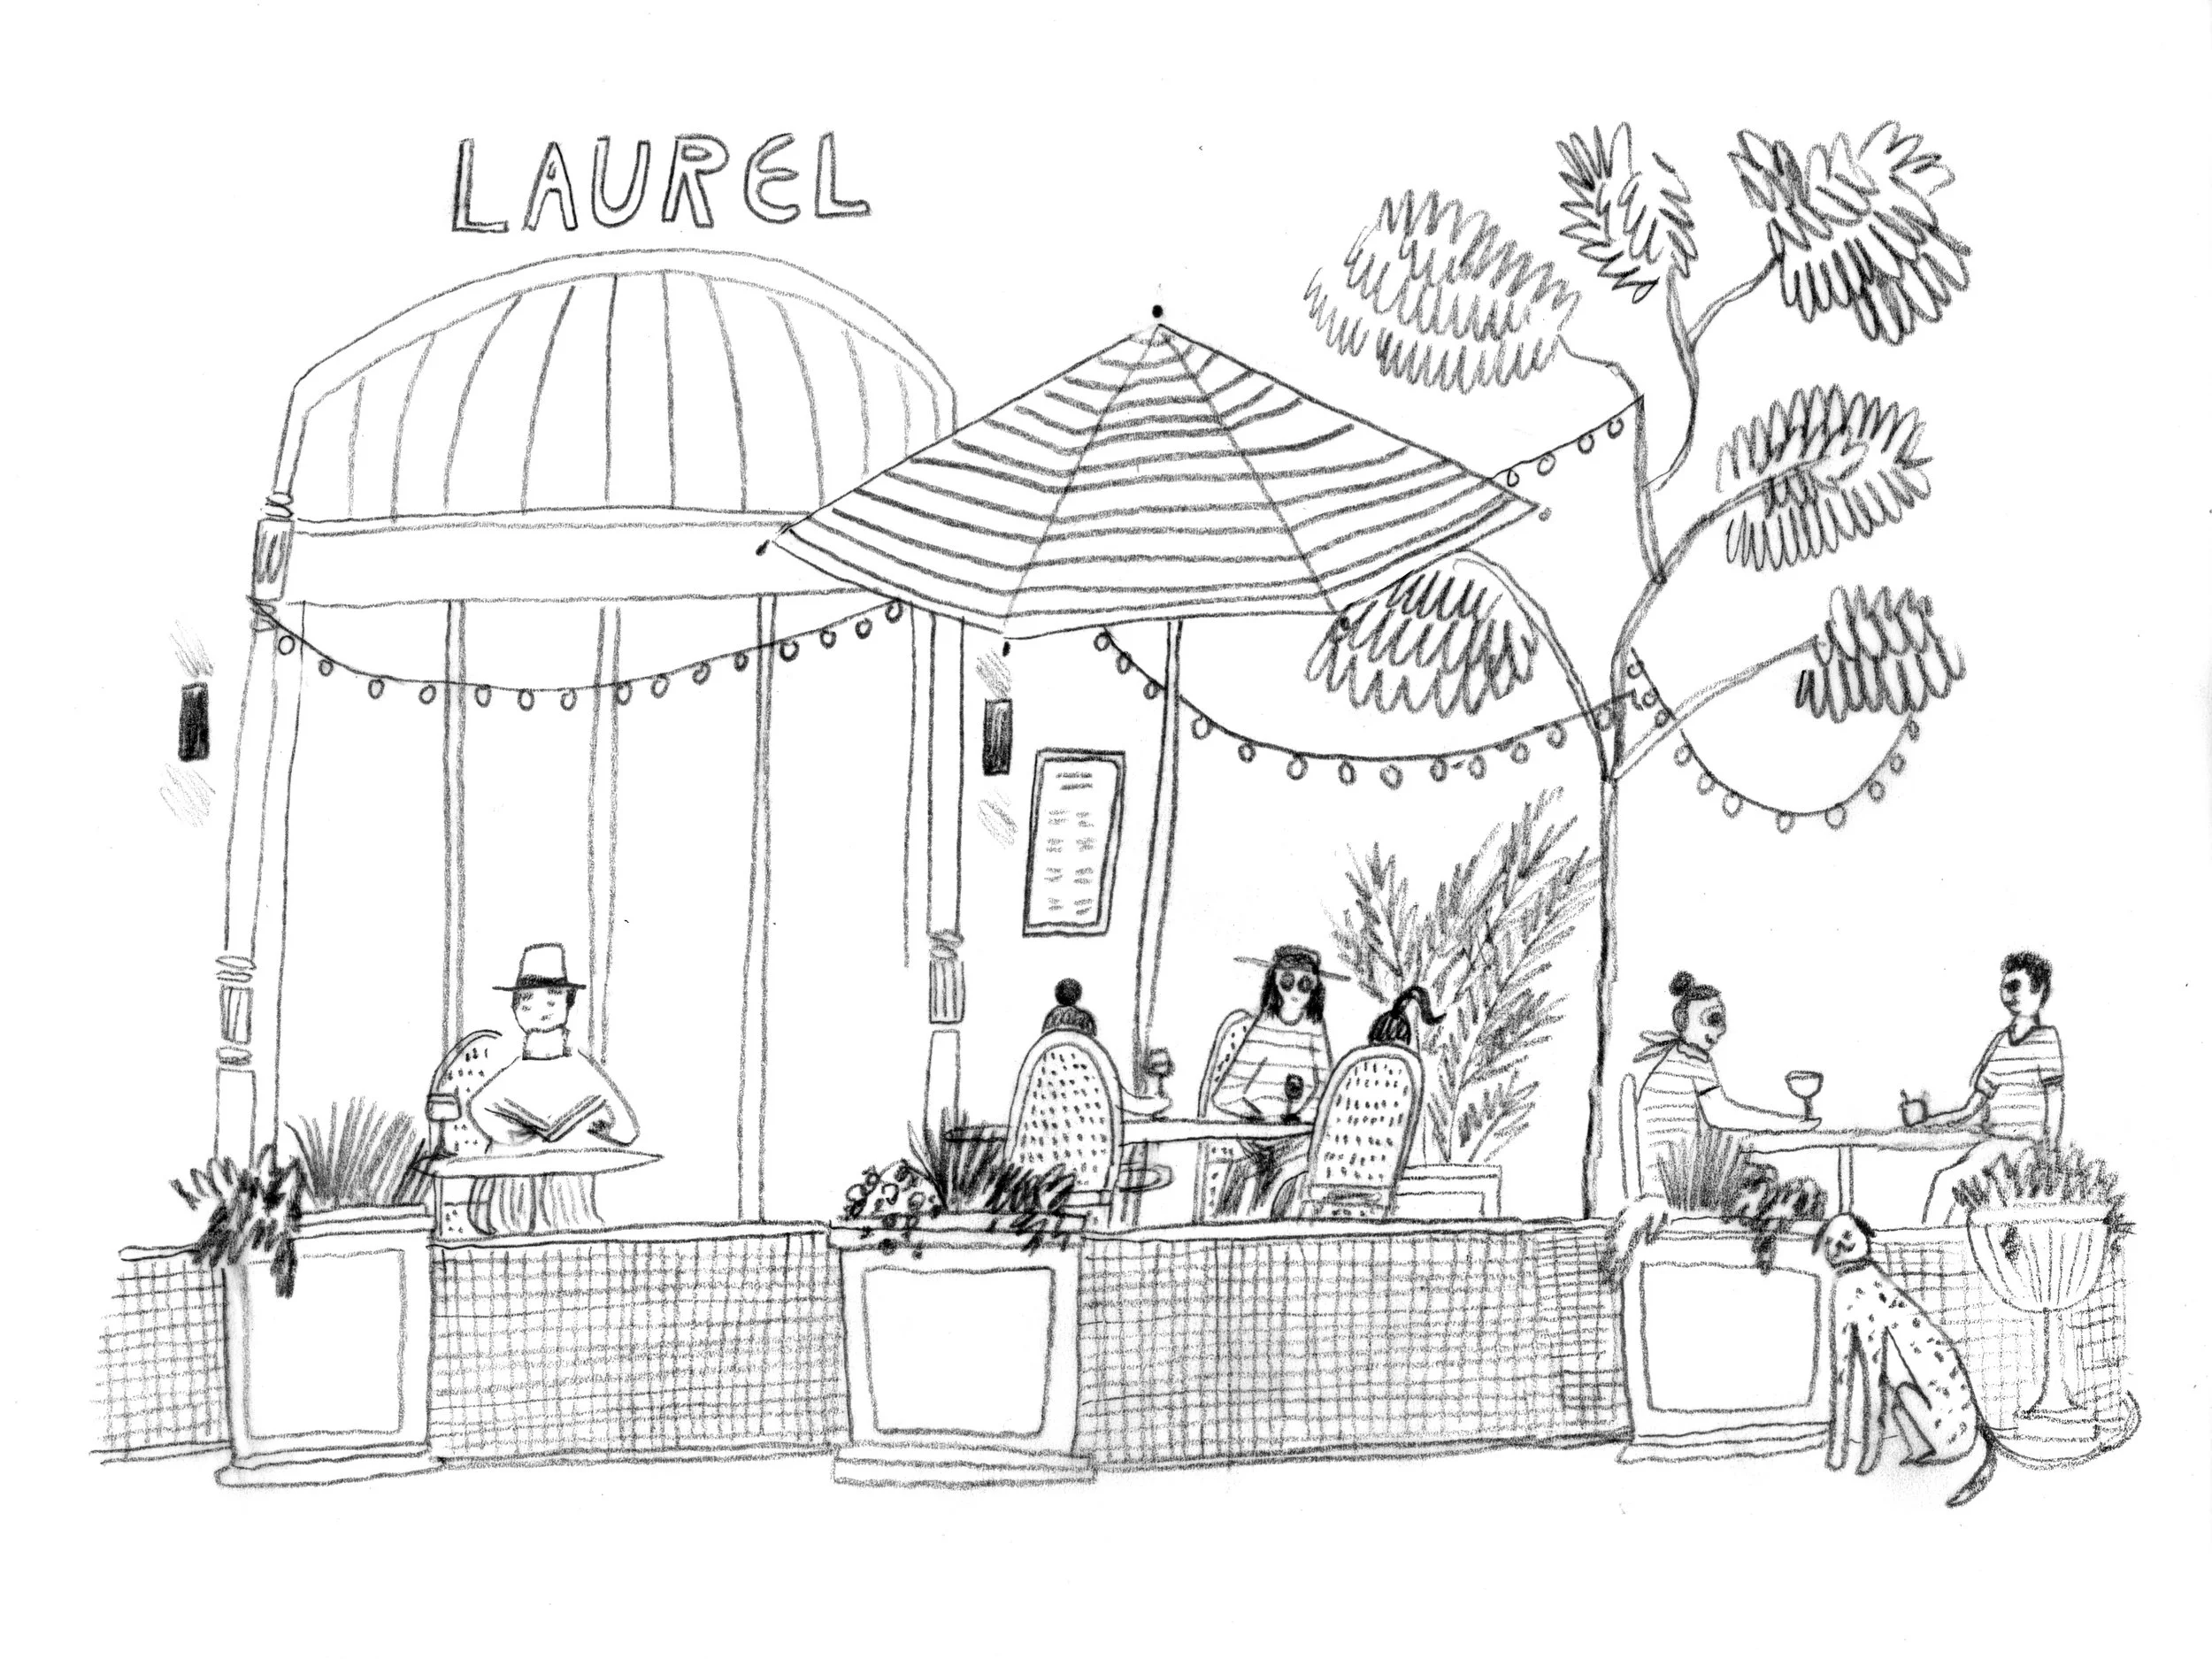
1. Spend More Time Thinking Through Compositions
Gosh this is something I wish I’d known sooner. You can be a really great artist, but if your final art is partially thought out, you’re doing yourself a disservice. I realized I needed to work on this when the work I was doing for clients was turning out better than my personal work. This was because they were thinking through the compositions more. I was also putting more energy in so as not to disappoint. Obviously my skill level was the same as it was with my personal work, but my ideas were half baked.
So what does this even mean? Well, say I want to paint a lake. I could just sit down right now and paint a generic lake with a few boats and people on the shore. That would be fine. But how much more interesting would it be if there was a race happening? A race in swan boats? At sunset? Where one boat has tipped over and someone has fallen in? And there are string lights on the piers that light up the scene? Now we’re talking. That sounds interesting right? Those little details are what make a piece.
The key is to take your initial idea and say to yourself - and what else is happening? So, I want to paint a lake- what else is happening on the lake? It’s simply about telling interesting stories through your art. And usually your first idea is probably good, but it’s not all that interesting. The “what else is happening” question helps you tell an interesting story. This makes the piece better. The cool thing is, you don’t actually have to make any art to do this. It just requires a little extra thought up front. Luckily, this brainstorming phase is actually a lot of fun. It can help to write things down that you want to include in a piece. You know you have a well thought out composition when you can’t add any more things without overloading the image.
2. Sketch Like Your Life Depends on It
You probably read the words above and sighed. We know we know, sketching is good right? Well, I don’t mean you need to get better at sketching. I mean that once you have that perfect composition thought out, just do a light sketch in watercolor pencil under your painting. In order to make a really good piece, you may want to even sketch a little thumbnail. Or sketch a very detailed sketch and use a light box if you want. Anything is better than nothing. And the more sketching you do, the better your piece will be.
Believe it or not, there was a time when I didn’t sketch at all. I know, it’s shocking. I don’t know how I did it, except that I made a lot of mistakes and my work wasn’t very good at the time. I would end up changing a lot of things in Photoshop after I was done painting.
Sketching a piece before you move onto final art is important because it’s a form of planning. You’ll probably find your art is always better when you have somewhat of a plan. How much of a plan you need is up to you, but most artists have a sweet spot. You want to sketch just enough to have an idea of where things are going, but not so much that it removes all the spontanaity and fun for you. If you’re trying to make your art better and you’ve already been sketching your work, maybe take it a step further and do a few more sketches than you usually do. See what happens. You will be surprised how much better your work will be.
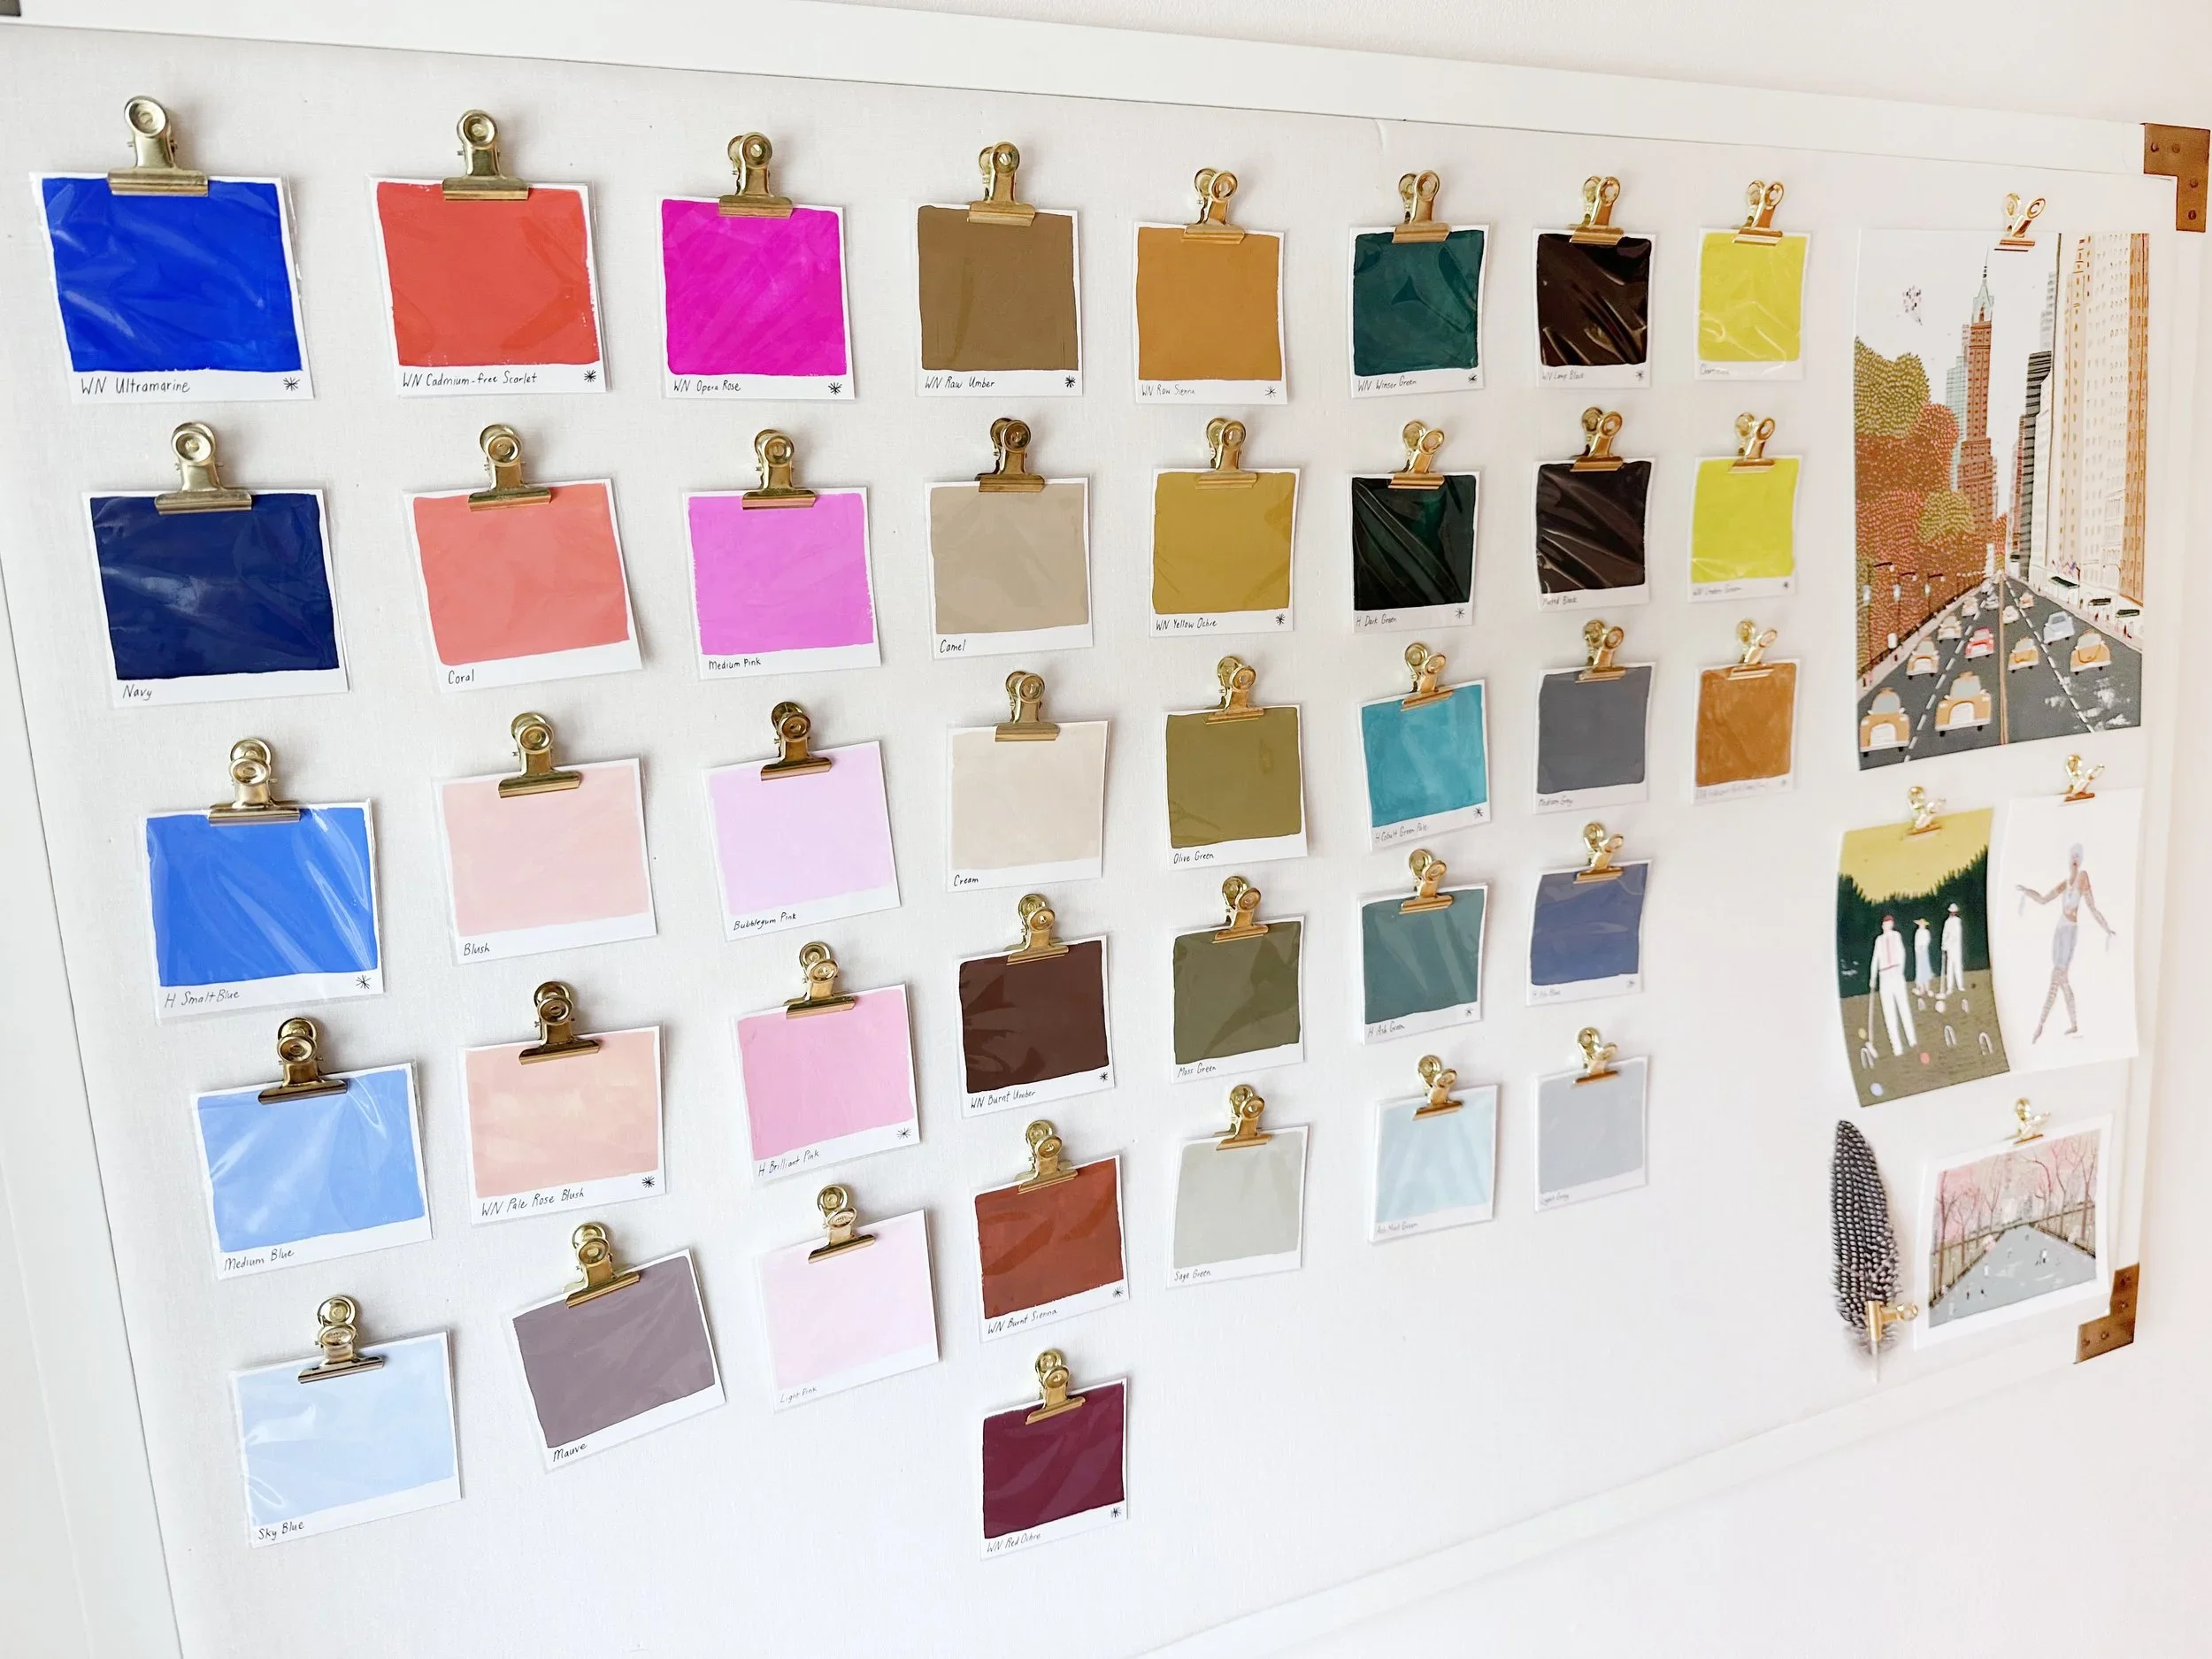
3. Make Color Swatches
I’ve brought up this practice so many times here on my blog, but I would be doing you a disservice if I didn’t mention it now. If this is your first time hearing about this - basically I made color swatches of every shade I like to use in my work. A few colors I like to use out of the tube. But most, I have certain mixing formulas I like. And the key is to be selective here. Only make swatches for colors you LOVE. When tackling a piece, I always look at my color swatches first and pick out key colors beforehand. I find my work turns out better and is a lot more interesting. The good news is that once you’ve made these swatches you can use them indefinitely, only getting rid of colors you don’t use anymore and adding new favorite shades.
A fun exercise if you don’t know what to paint can be to pick out your colors before having an idea and then brainstorm what you want to paint based on the colors.
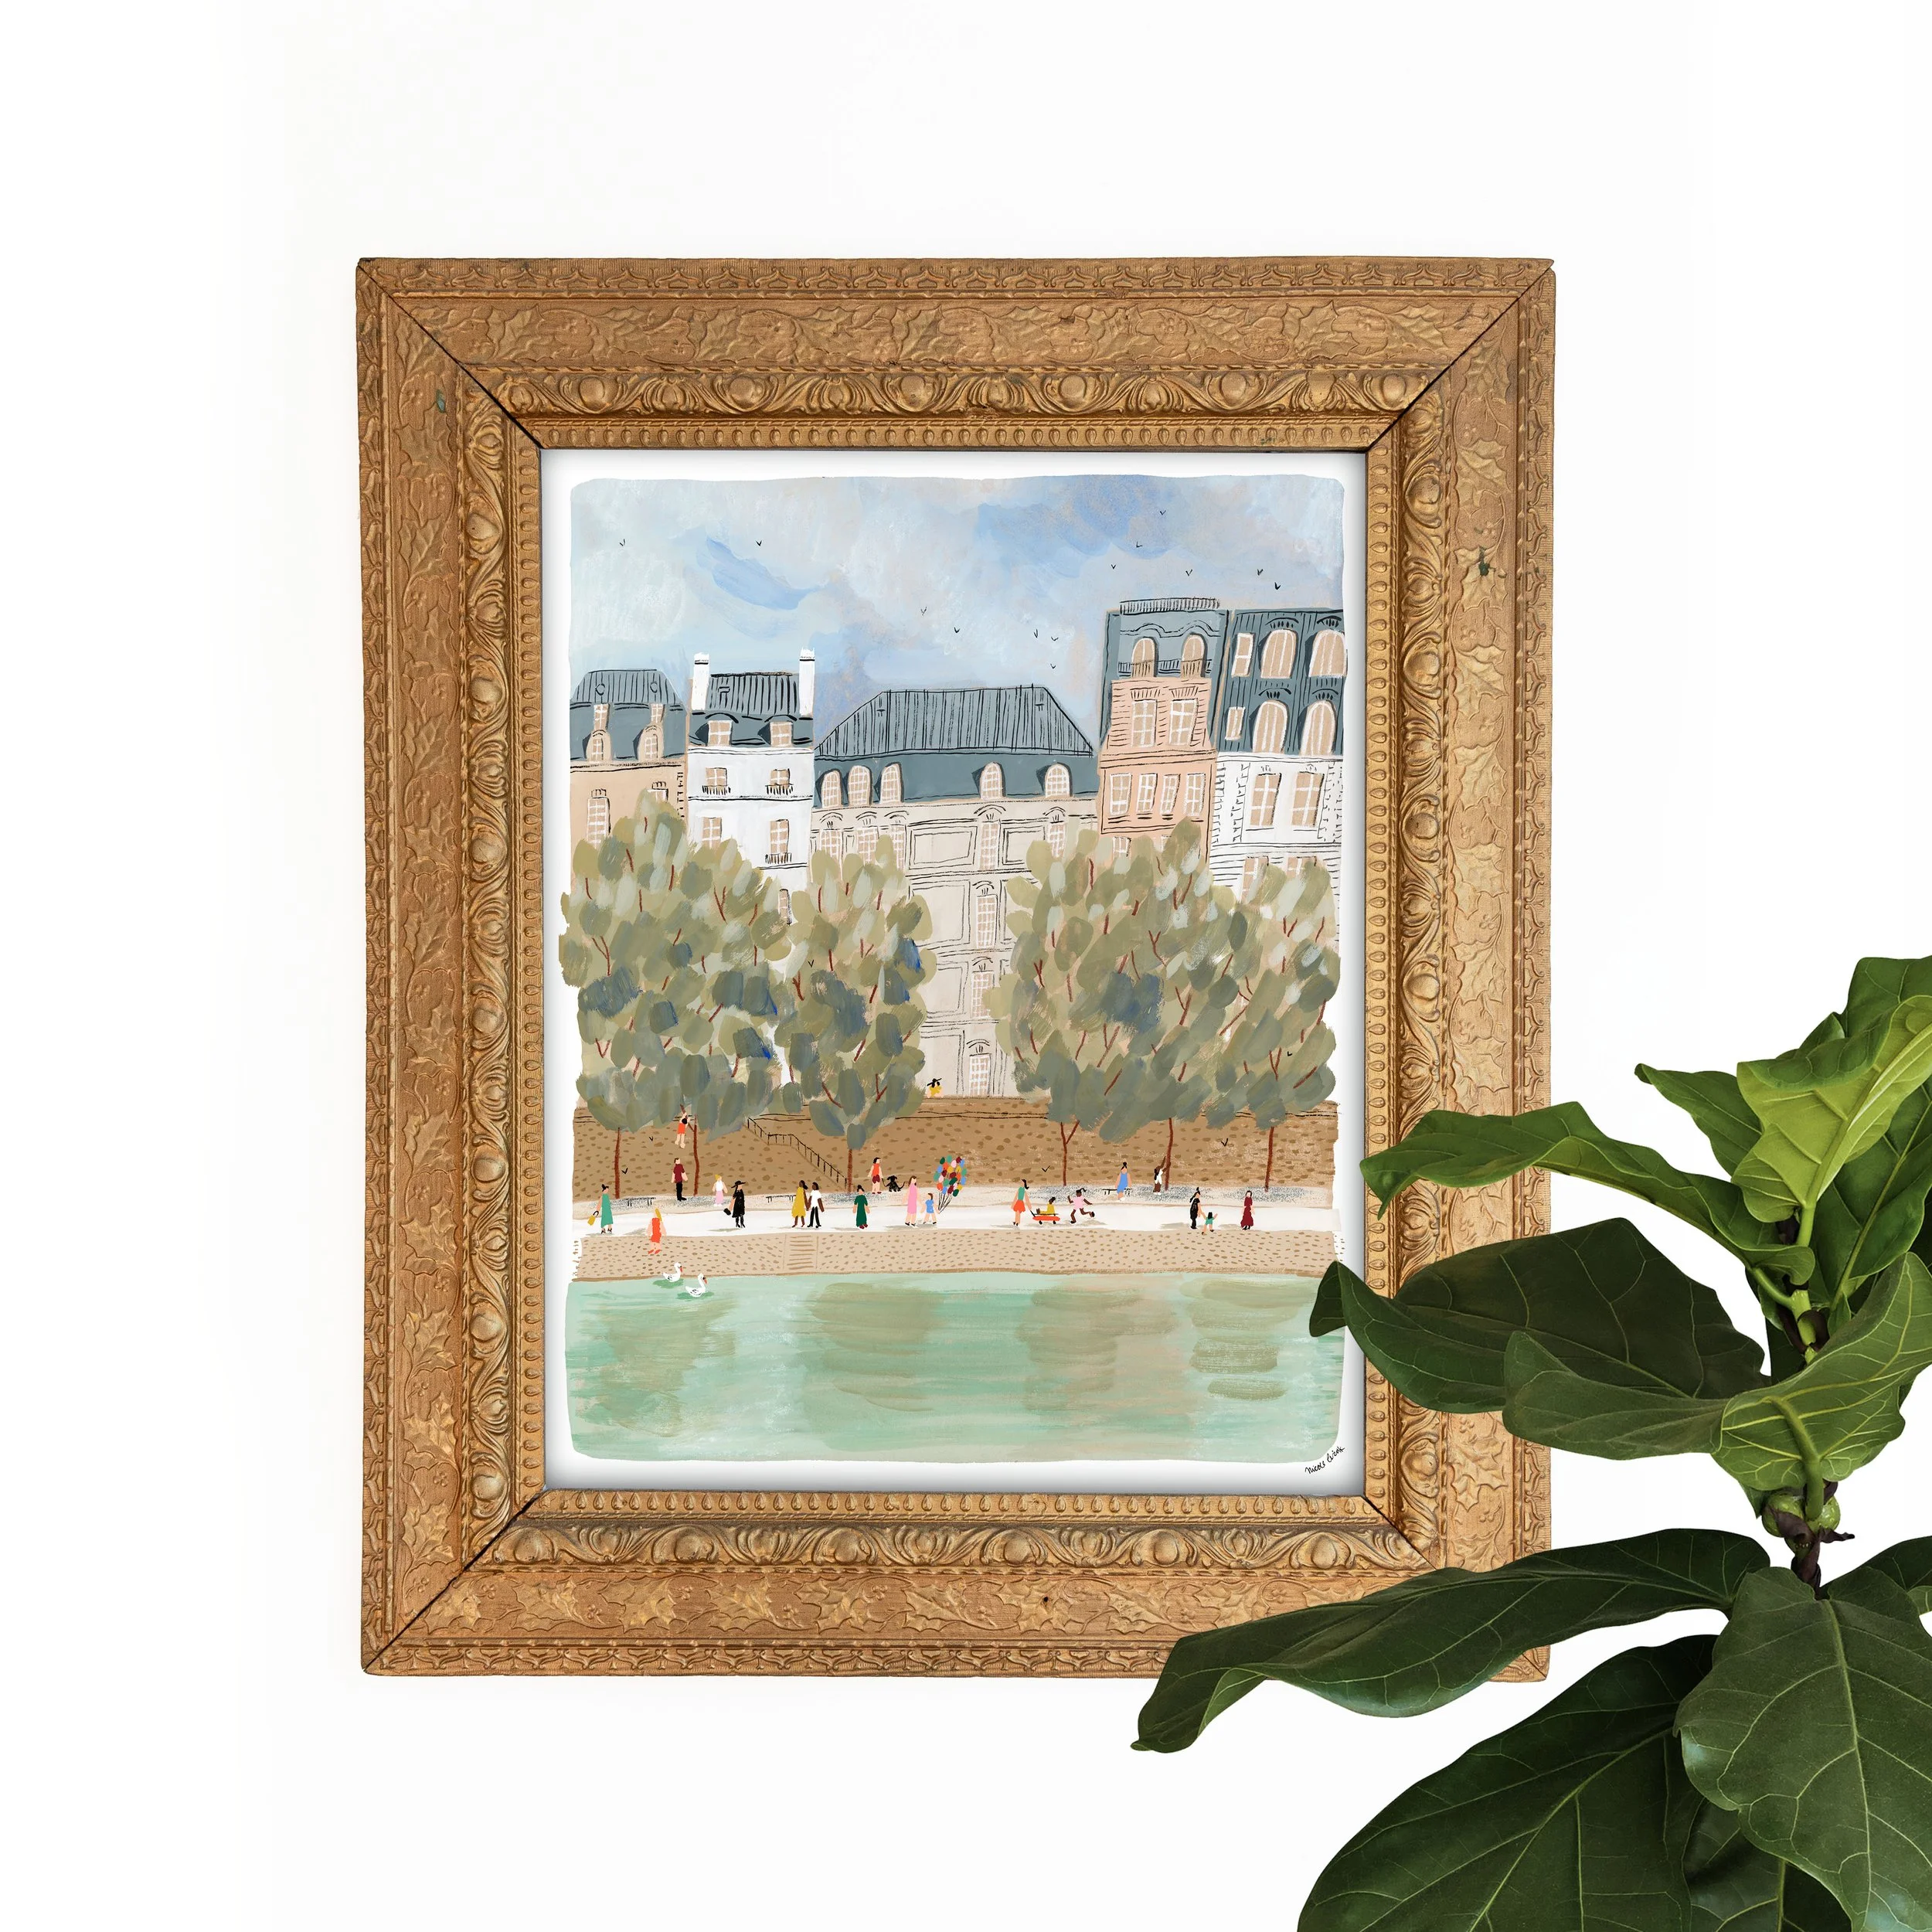
I painted this on brown paper, so it has an underpainting effect.
4. Add an Underpainting
I must admit, I don’t always do this. But, when I have, my work has turned out much better. For those of you who don’t know what an underpainting is, it’s basically a sold coat of paint you put down before painting a piece. It’s something I notice other really talented artists doing. If you’re trying to create a certain vibe with your work, this is the way to go. For example, say you want your piece to feel dark and moody. Maybe you do a blue underpainting. Or maybe you are painting a sunset and you want everything to have that peachy glow. Do a peach underpainting. I think this practice instantly makes a piece look more interesting and professional. It’s something I want to do more of in the future and probably don’t out of sheer laziness.
If you’re lazy like me, a fun workaround can be to paint on colored paper, which I’ve done quite a bit. This has a similar effect.

5. Think About Lighting
You may be shocked to learn that I’ve only recently started thinking about lighting in my work and boy has it made a difference. Forgetting about lighting wasn’t intentional. More just me focusing on other things and neglecting to even consider what lighting can bring to a piece.
When trying to get better at lighting, you need to ask yourself three basic questions. First - what time of day is it? Second - what is the weather like? Third - where is the light source coming from? These questions will help you cover your bases quickly. For me, lighting doesn’t come naturally, so I use reference images to help me along. For instance, if I decide my painting takes place on an early summer morning, I can look up images of “early summer morning shadows” to see what this would look like. When I look at these images, I pay attention to color tones as well. Are the tones warmer or cooler? Light or dark?
It’s okay if you don’t get all it right. I’ve found a piece still looks better when you just try to add lighting effects versus forgetting it all together. Even if you are painting people on white backgrounds - just adding a little shadow under their feet adds some professionalism to the piece.
Well, I hope these tips were helpful. They certainly helped me a lot. The cool thing is there’s always work to be done in all five of these categories. Any time you feel your work go stale, revisit this article and see if you can focus more on any of these areas. I guarantee it will help get you out of your rut!


Thanks for stopping by! I’m an illustrator & writer. I’ve been running my own creative business since 2015. My mission is to help artists find their unique creative voice, build positive habits, and do what they love for a living.